Step-by-Step Guide: How to Make Perfect Homemade Fruit Popsicles
As the temperature rises, there’s no better way to beat the heat than with a delicious and refreshing fruit popsicle. Homemade fruit popsicles offer a delightful and healthy alternative to store-bought options, allowing you to indulge in the natural sweetness of fresh fruits.
Read on as we delve into the world of homemade fruit popsicles, exploring their vibrant flavors, nutritional benefits, and the joy of creating these icy treats in your own kitchen. Get ready to embrace the coolness of summer with these irresistible and wholesome frozen delights.
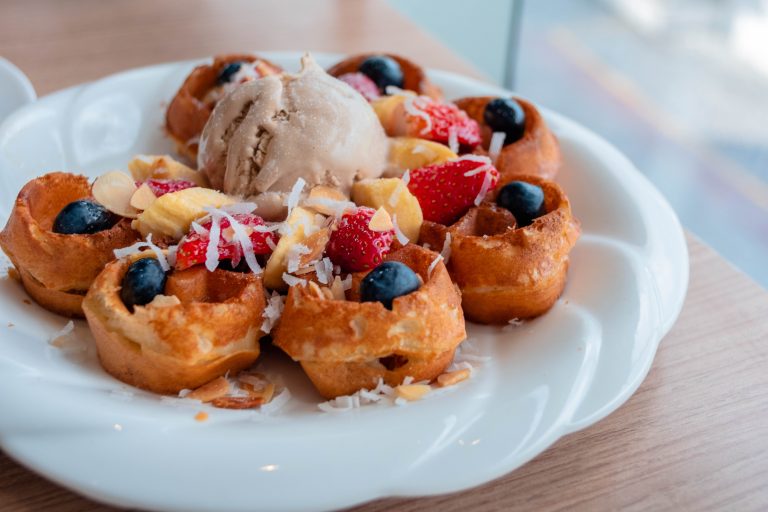
The Beauty of Homemade Fruit
Popsicles Homemade fruit popsicles capture the essence of seasonal fruits, showcasing their vibrant colors and intense flavors. Unlike commercial varieties, which may contain artificial colors and flavors, homemade popsicles allow you to use real, ripe fruits to create a delightful frozen treat. From juicy strawberries to tangy oranges and tropical pineapples, the possibilities are endless. The freshness and quality of the fruits shine through, offering a truly satisfying experience.
Advantages of Homemade Fruit Popsicles
One of the greatest advantages of homemade fruit popsicles is the nutritional boost they provide. Fruits are nature’s gift, brimming with essential vitamins, minerals, and antioxidants. By using fresh fruits in your popsicles, you can enjoy the inherent health benefits they offer.
From vitamin C in citrus fruits to potassium in bananas and antioxidants in berries, homemade fruit popsicles are a guilt-free way to cool down while nourishing your body.
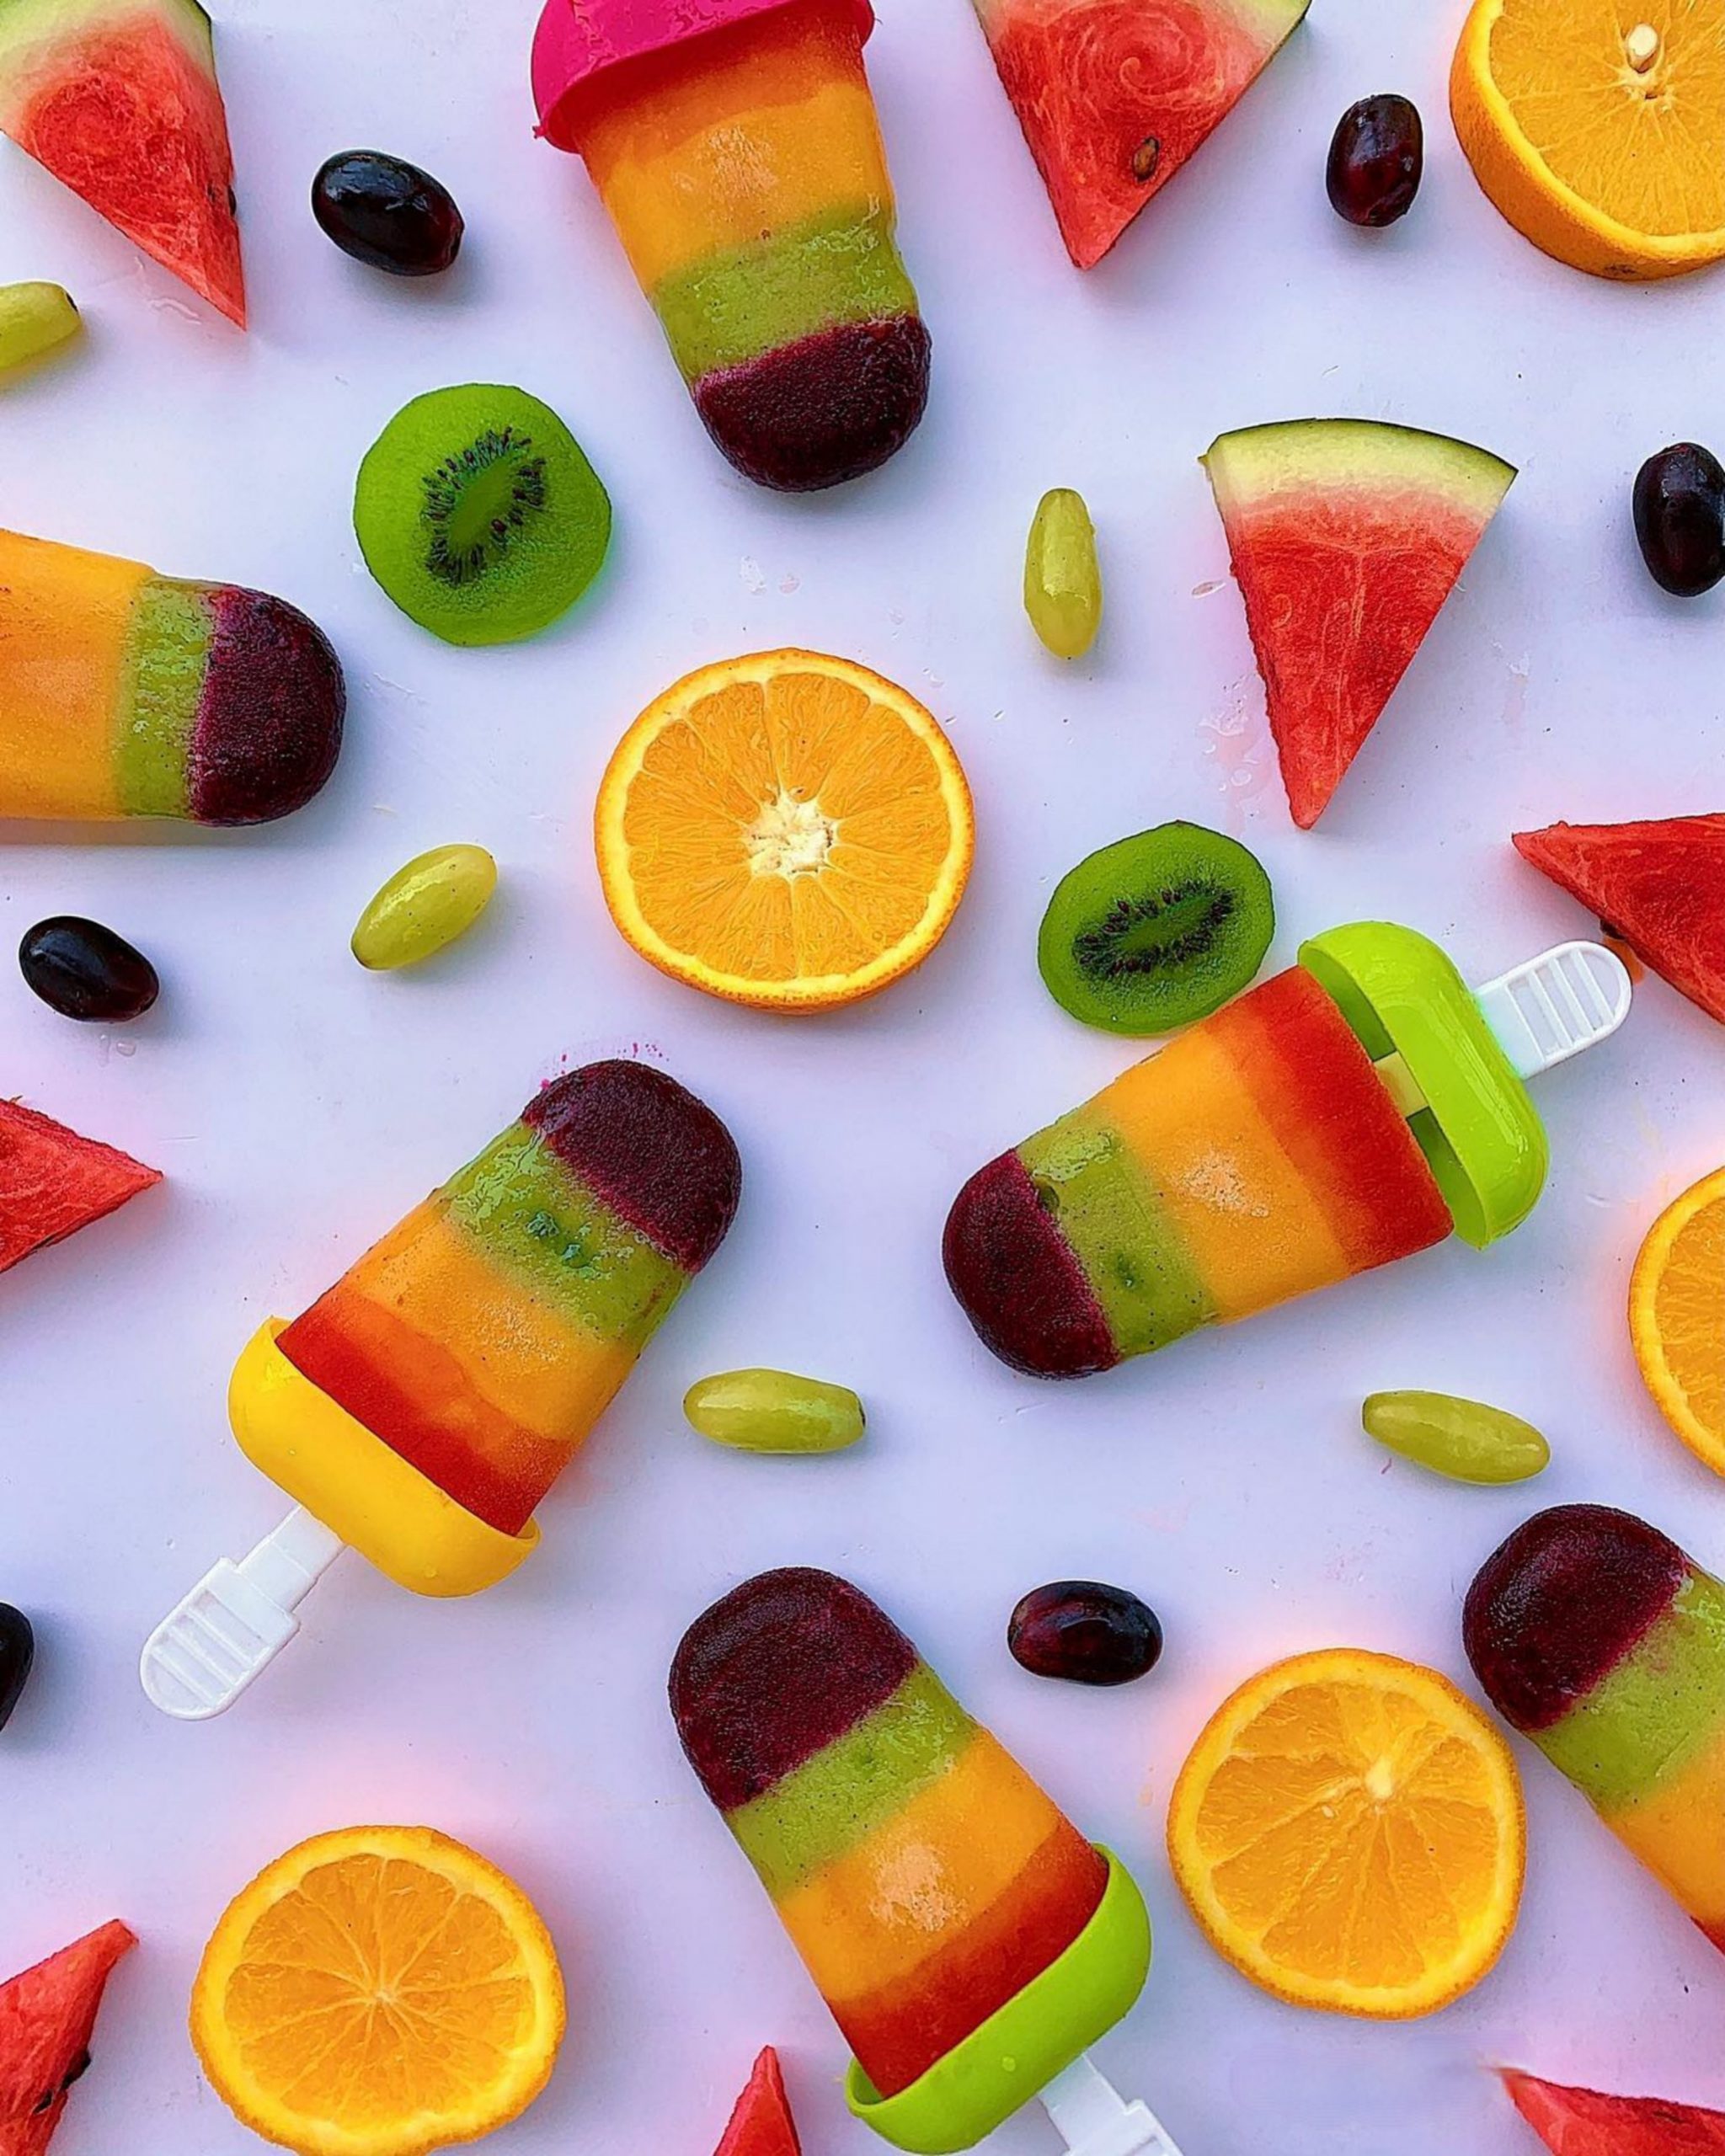
Simple Steps to Homemade Fruit Popsicles
Creating your own fruit popsicles is a fun and straightforward process. Here’s a basic recipe to get you started:
Ingredients
- Fresh fruits of your choice (such as strawberries, blueberries, mangoes, watermelon, or kiwi)
- Water or natural fruit juice (optional)
- Sweetener (optional, if desired)
Instructions
1. Wash and prepare the fruits by removing any peels, seeds, or stems. Chop them into small, bite-sized pieces.
2. Place the fruit pieces into a blender or food processor. If desired, add a small amount of water or natural fruit juice to help with blending.
3. Blend the fruits until smooth and pureed. If desired, you can add a sweetener like honey or maple syrup to enhance the sweetness, although the natural sugars in the fruits are often sufficient.
4. Pour the fruit puree into popsicle molds, leaving a small space at the top for expansion.
5. Insert popsicle sticks into each mold.
6. Place the molds in the freezer and let them freeze for at least 4-6 hours, or until completely solid.
7. Once frozen, remove the popsicles from the molds by running them briefly under warm water. Enjoy immediately or store in a freezer bag for later.
Strawberry Homemade Popsicles
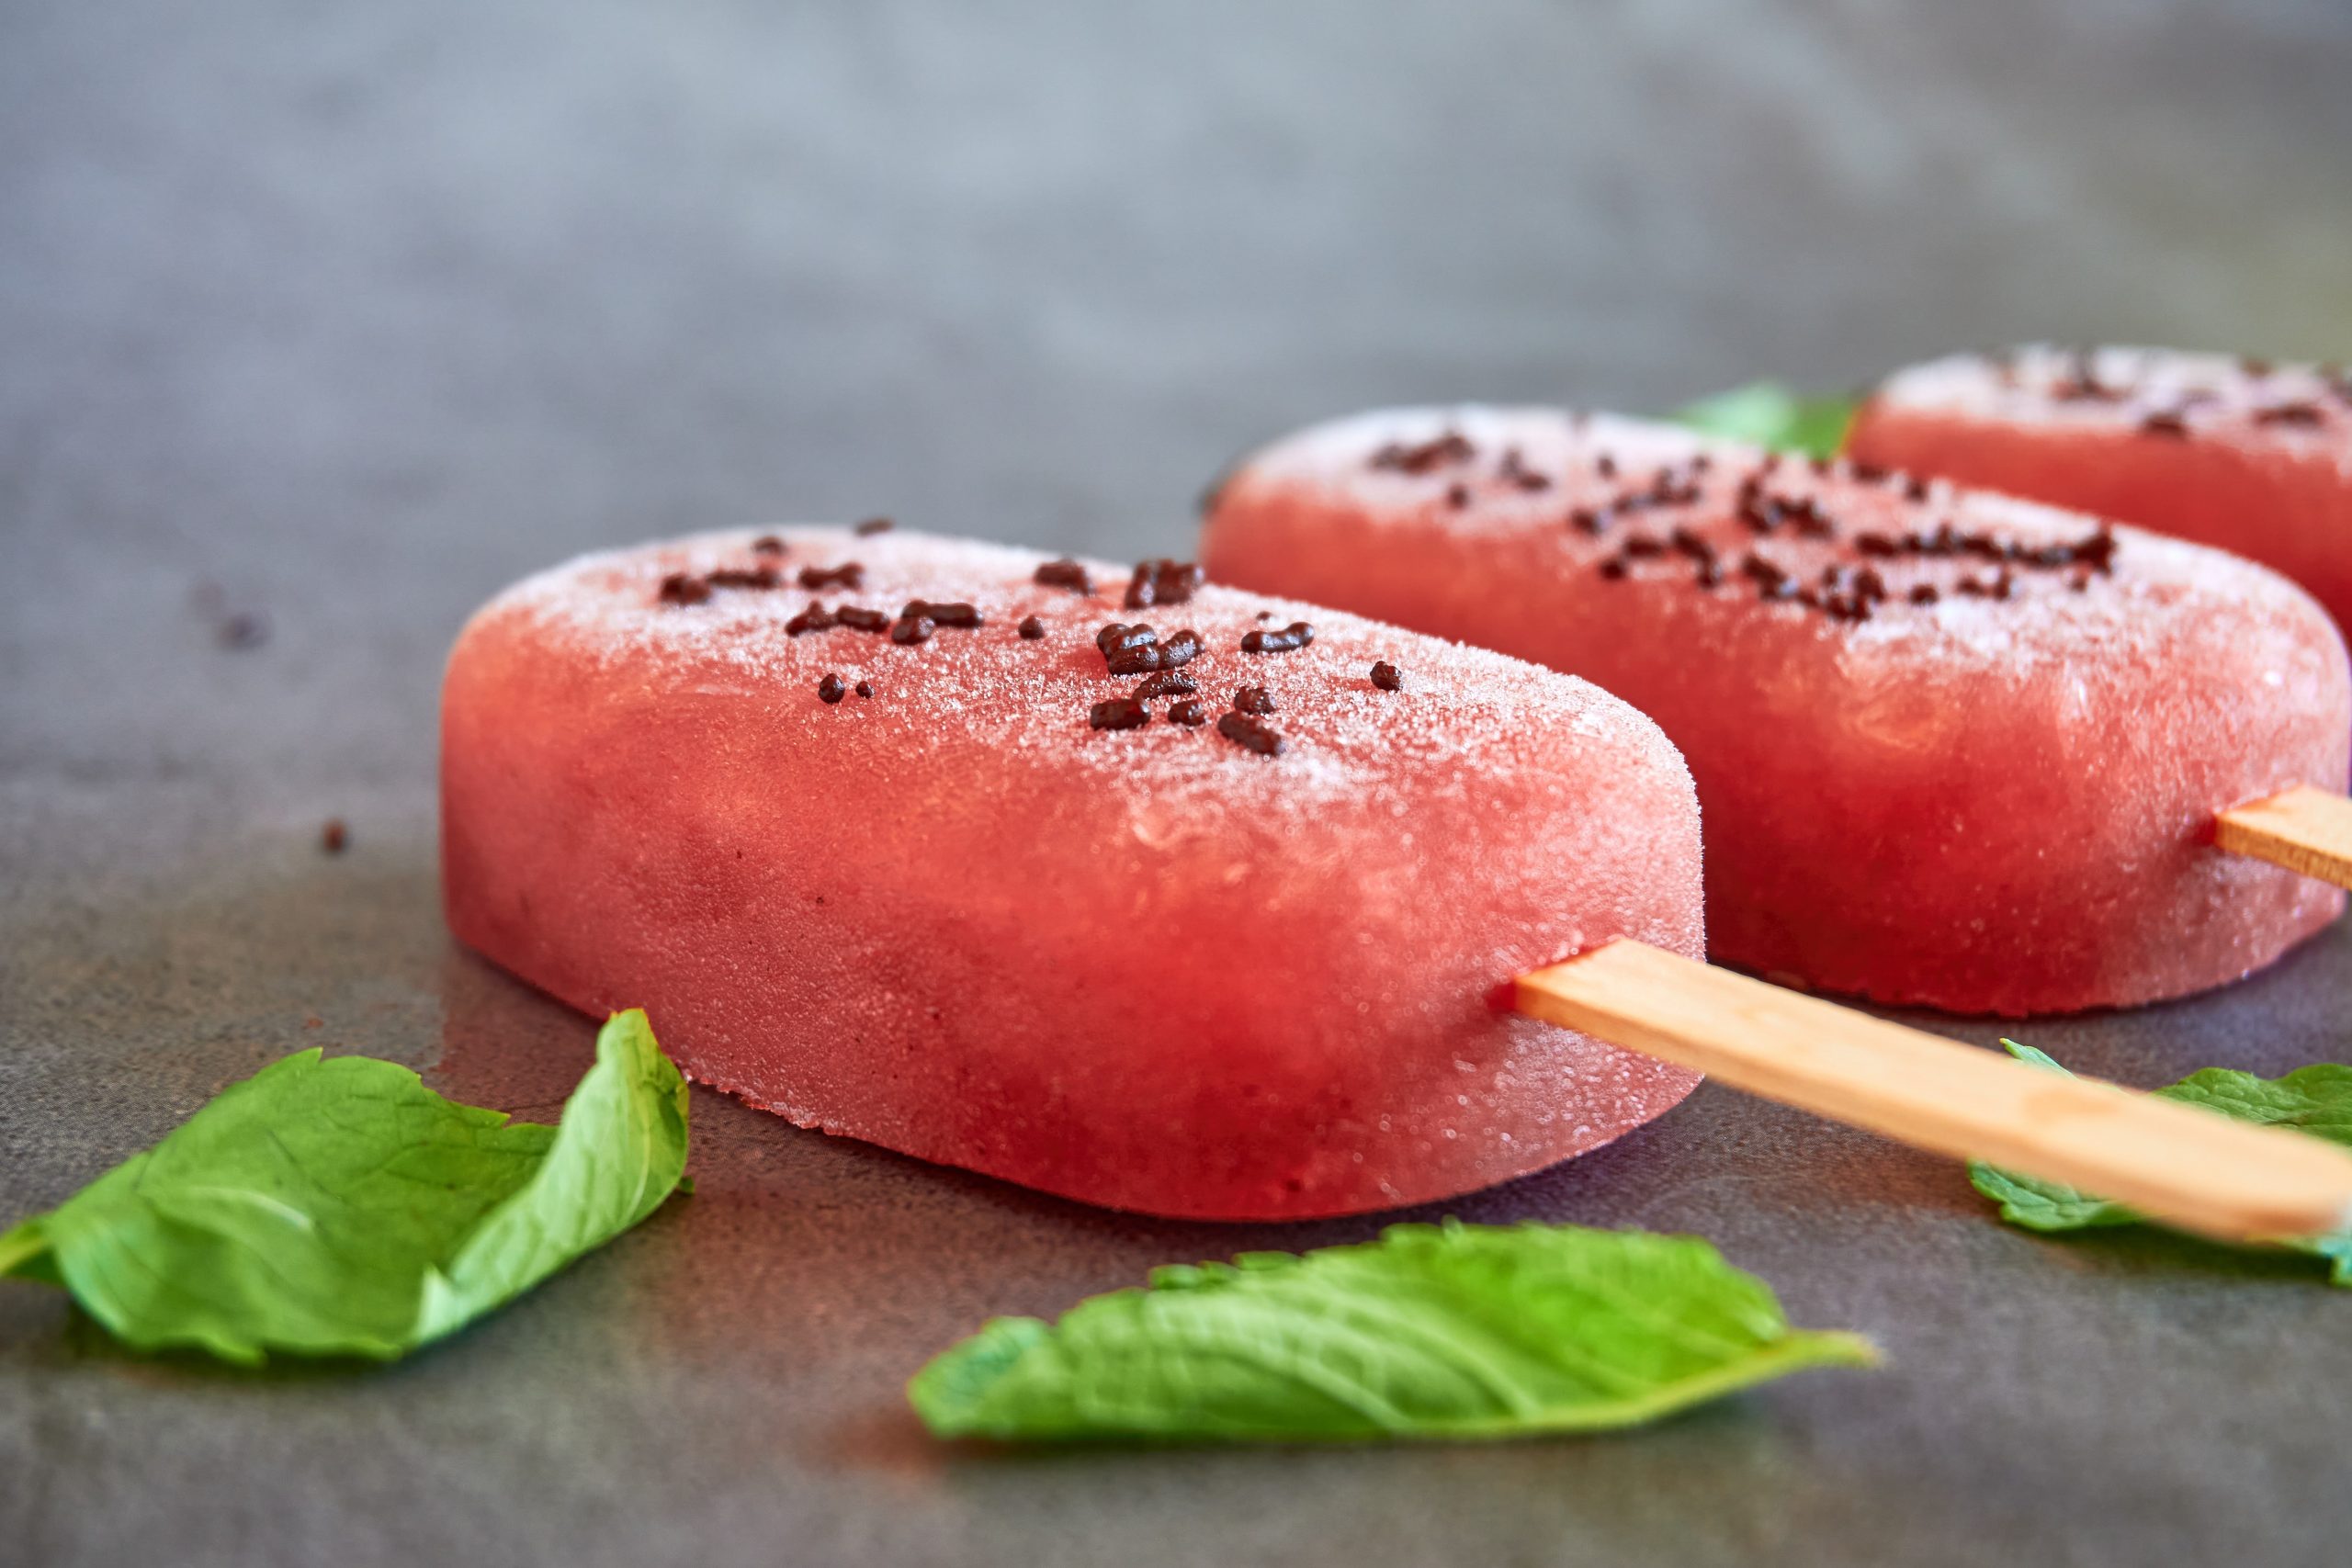
You can always use the fruit homemade popsicle recipe for this one. However, for those who might still be in doubt, here is a specific strawberry homemade popsicles recipe:
Ingredients
- 2 cups fresh strawberries, hulled and sliced
- 1/4 cup water
- 2 tablespoons honey or preferred sweetener (optional)
Instructions
1. Wash the strawberries thoroughly, remove the stems, and slice them.
2. Place the sliced strawberries in a blender or food processor.
3. Add water to help with blending and achieve a smoother consistency.
4. Blend until the strawberries are pureed and no large chunks remain.
5. Taste the mixture and add honey or your preferred sweetener if desired, adjusting the sweetness to your liking.
6. Pour the strawberry puree into popsicle molds, leaving a small space at the top for expansion.
7. Insert popsicle sticks into the molds, ensuring they are positioned upright.
8. Place the molds in the freezer and let them freeze for at least 4-6 hours or until completely solid.
9. Once frozen, remove the popsicles from the molds by running them briefly under warm water. Enjoy immediately or store in a freezer bag for later.
Make Your Strawberry Popsicles Extra Special
While the simplicity of pure strawberry popsicles is delightful, you can take them to the next level by experimenting with various additions and flavor combinations. Here are some ideas:
- Creamy Dream: Blend in a dollop of Greek yogurt or coconut milk for a creamy and indulgent twist.
- Tropical Fusion: Add chunks of fresh pineapple or coconut flakes to the strawberry puree for a tropical getaway.
- Citrus Infusion: Squeeze in some fresh lemon or lime juice for a zesty burst that complements the sweetness of strawberries.
Feel free to get creative and explore different ingredients to personalize your strawberry popsicles.
Jello Popsicles
Creating Jello popsicles is a straightforward process that requires minimal ingredients and effort. Here’s a basic recipe to get you started:
Ingredients
- 1 package of flavored gelatin (choose your favorite flavor)
- 1 cup boiling water
- 1 cup cold water
Instructions
1. In a heatproof bowl, empty the package of flavored gelatin.
2. Add the boiling water to the gelatin powder and stir until fully dissolved.
3. Stir in the cold water and mix well to combine.
4. Pour the gelatin mixture into popsicle molds, leaving a small space at the top for expansion.
5. If desired, you can add fruit pieces, gummy candies, or other fun additions at this stage.
6. Insert popsicle sticks into the molds, ensuring they are positioned upright.
7. Place the molds in the freezer and let them freeze for at least 4-6 hours or until fully set.
8. Once frozen, remove the popsicles from the molds by running them briefly under warm water. Enjoy immediately or store in a freezer bag for later.
Tips and Tricks for Perfect Jello Popsicles
To ensure the best results with your Jello popsicles, consider the following tips:
1. Layering Technique: For visually stunning popsicles, allow each layer of gelatin to be partially set before adding the next layer. This creates distinct layers and prevents the colors from blending together.
2. Unmolding with Ease: To release the popsicles from the molds, run them briefly under warm water or immerse the molds in warm water for a few seconds. This helps loosen the popsicles, allowing for easy removal without compromising their shape.
3. Experiment with Flavors: Don’t be afraid to mix and match different Jello flavors to create unique combinations. Try layering complementary flavors or blending multiple flavors together for a taste sensation.
Popsicles Molds

Choosing the Right Popsicle Molds When selecting popsicle molds, consider the following features to ensure a seamless and enjoyable popsicle-making experience:
1. Material: Popsicle molds are typically made from plastic, silicone, or stainless steel. Plastic molds are budget-friendly and easy to find, while silicone molds are flexible and allow for easy removal. Stainless steel molds offer durability and are often dishwasher-safe.
2. Size and Shape: Popsicle molds come in various sizes and shapes, including traditional popsicle shapes, ice pop bags, or even fun molds in the form of animals, characters, or fruit shapes. Choose a size and shape that suits your preferences and appeals to your audience.
3. Drip Trays and Sticks: Some popsicle molds come with built-in drip trays or handles, preventing messy drips and providing a comfortable grip while enjoying your frozen treats. These additional features can enhance the overall popsicle-eating experience.
Homemade Popsicles for Dogs
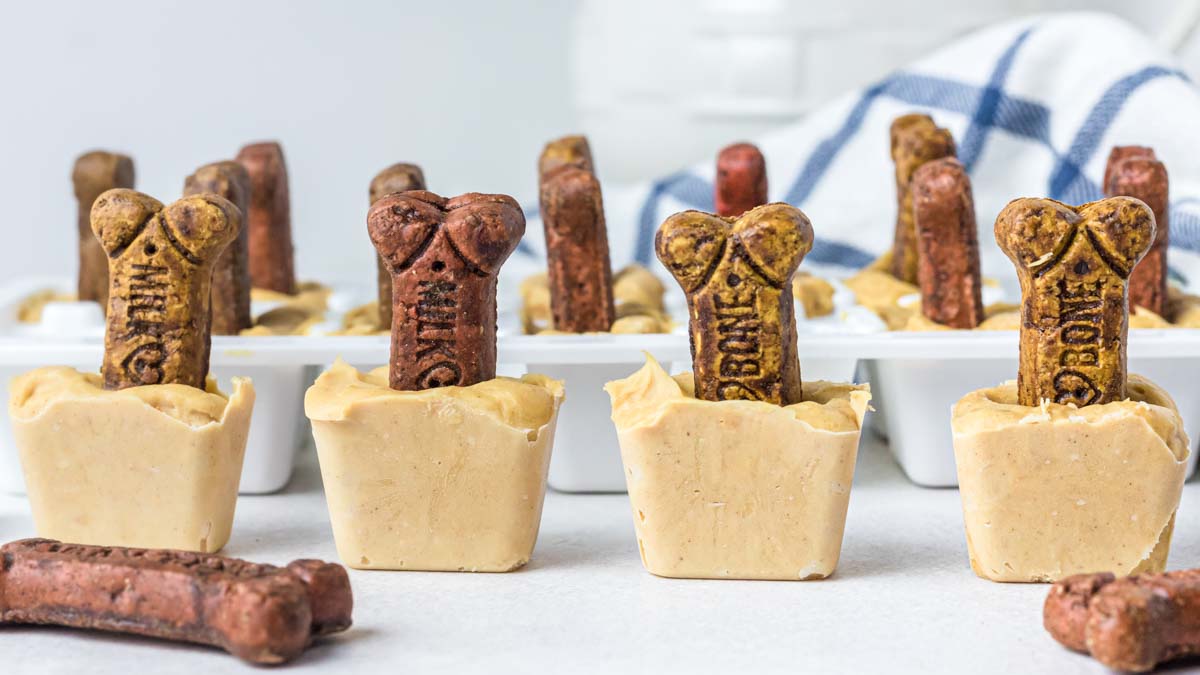
When making homemade popsicles for dogs, it’s crucial to use ingredients that are safe and healthy for their consumption. Here are some dog-friendly ingredients and simple recipes to try:
1. Peanut Butter Banana Popsicles
Ingredients: Ripe bananas, natural peanut butter (without xylitol)
Instructions: Mash the bananas, mix in the peanut butter, and pour into popsicle molds. Freeze until solid.
2. Chicken Broth and Vegetable Popsicles
Ingredients: Low-sodium chicken broth, chopped dog-safe vegetables (such as carrots, peas, or green beans)
Instructions: Mix the broth and vegetables, pour into molds, and freeze until firm.
3. Berrylicious Yogurt Popsicles
Ingredients: Plain Greek yogurt, fresh berries (such as blueberries, strawberries, or raspberries)
Instructions: Blend the yogurt and berries, pour into molds, and freeze until set.
Tips for Homemade Doggy Popsicle
Success To ensure your homemade doggy popsicles are a hit with your pup, consider the following tips:
1. Use Dog-Safe Ingredients: Avoid ingredients that are toxic to dogs, such as chocolate, grapes, raisins, and artificial sweeteners like xylitol.
2. Adjust the Texture: If your dog prefers softer treats, consider blending the ingredients for a smoother texture. For dogs who enjoy crunchier treats, add small pieces of dog-friendly fruits or vegetables.
3. Supervise While Enjoying: Always supervise your dog while they’re enjoying their popsicle to prevent choking or other safety concerns.
4. Tailor the Recipes: Customize the recipes to suit your dog’s preferences and dietary needs. Consult your veterinarian if your dog has any specific dietary restrictions or allergies.